


No company has done more to champion the spatial audio era of music than Apple. Its AirPods family of wireless headphones add advanced support for the format, and Apple Music has been actively incentivizing record labels and independent artists to submit Dolby Atmos Music mixes to its catalog.
Unfortunately, in its enthusiasm for Dolby Atmos, Apple Music has made it hard — really hard — for people to switch between Dolby Atmos and standard stereo on their phones, when using non-Apple or Beats headphones.
I haven’t magically fixed this omission, but I’ve come really close and so can you.
Apple Music’s missing Atmos switch
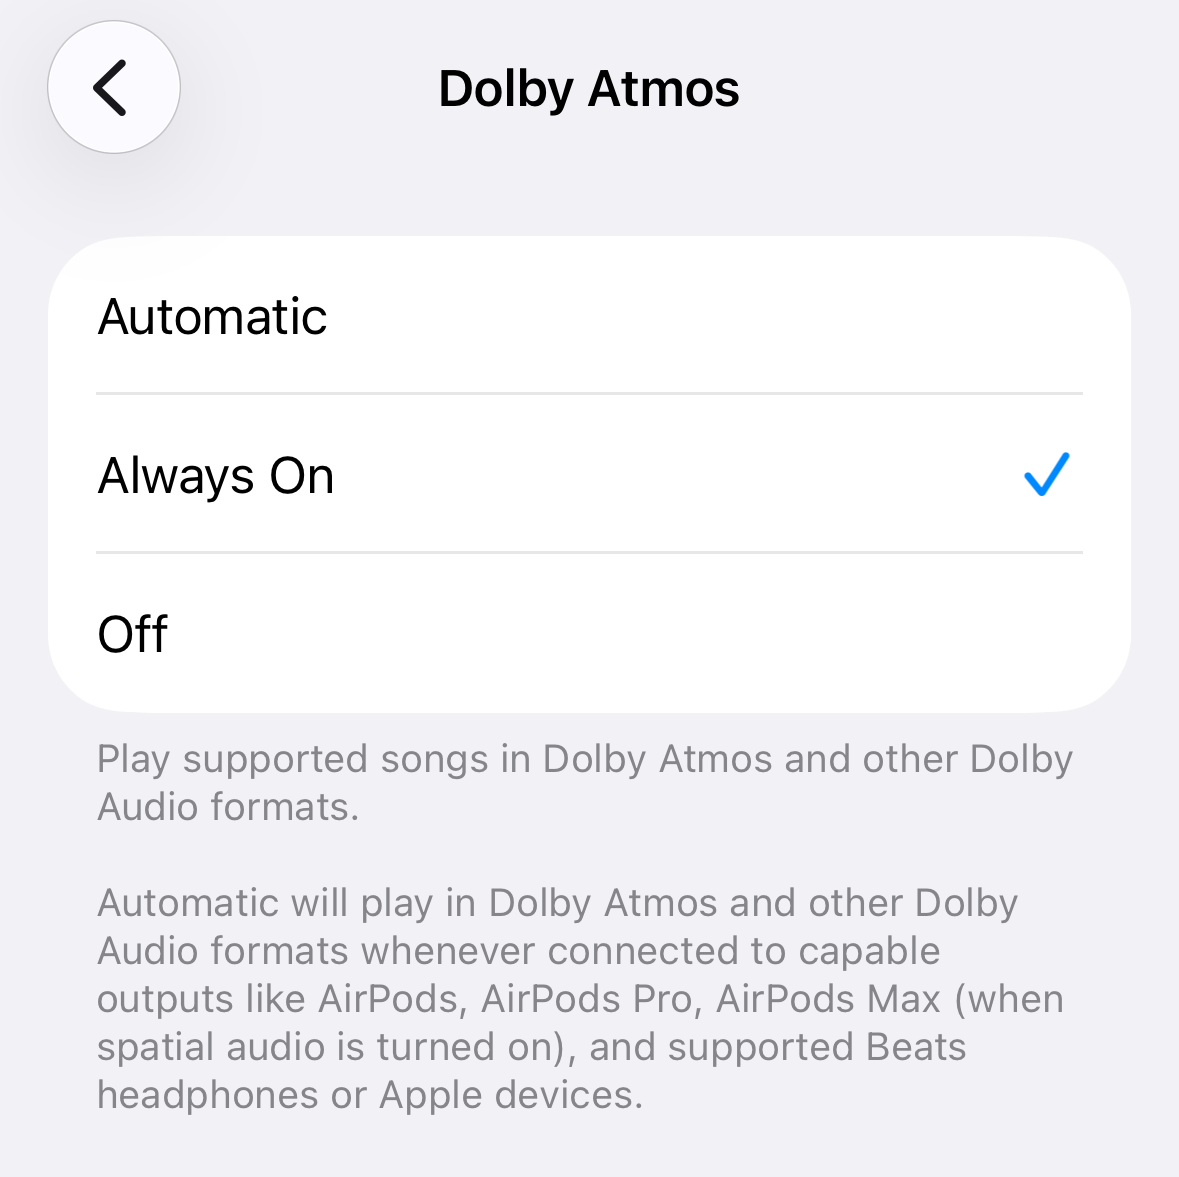
There’s no Dolby Atmos < - > Stereo toggle in Apple Music itself. Instead, the setting is buried many layers deep inside the iPhone’s Settings app:
Settings > Apps > Music > Audio, Dolby Atmos > [Automatic | Always On | Off]
You’d think that Automatic would be the best option. Who doesn’t want things to be automatic? But that option only works when you’re using Apple or Beats wireless headphones.
When you’re using AirPods in Automatic mode, Apple Music will automatically play the Atmos version of a song when it exists, and stereo when it doesn’t. At any time, you can swipe down from the top of your iPhone screen, then long-press on the volume slider. You can then easily switch from Spatial Audio On (Fixed or Head Tracked) to stereo (Spatial Audio Off), or, if the track you’re listening to is only in stereo, you can turn on Fixed or Head Tracked spatialization (which makes stereo sound a little more like Atmos).
Without AirPods or Beats headphones, Automatic doesn’t do anything. You’ll only get stereo, even if the song your listening to has an Atmos version.
Instead, to hear Atmos (when available), you need to set Apple Music’s Atmos switch to Always On, at which point iOS will remind you that BAD THINGS MAY HAPPEN.
Ok, not really. But it is true that Apple Music will start to give you Atmos whenever it can. And on some connected speakers, including your car stereo, it could sound way worse than regular stereo (the version of Atmos that an iPhone generates is only intended for headphones and earbuds, not speakers).
So now you’re always getting Atmos when available, which is great, right up until the point where you decide you’d prefer to hear the stereo version of the song your listening to. Now you’re stuck.
With Apple Music, it’s really hard to simply search for and play the non-Atmos version of a song once you’re in Always On mode. You may get lucky and find a stereo-only version as part of someone else’s compilation album, but that’s only going to work for major hit songs.
The workaround is to dive back into your Settings app and switch the Dolby Atmos setting to Off, which works similarly to Automatic for non-Apple headphones. But this, as you’ll recall, turns Atmos off entirely.
Sigh.
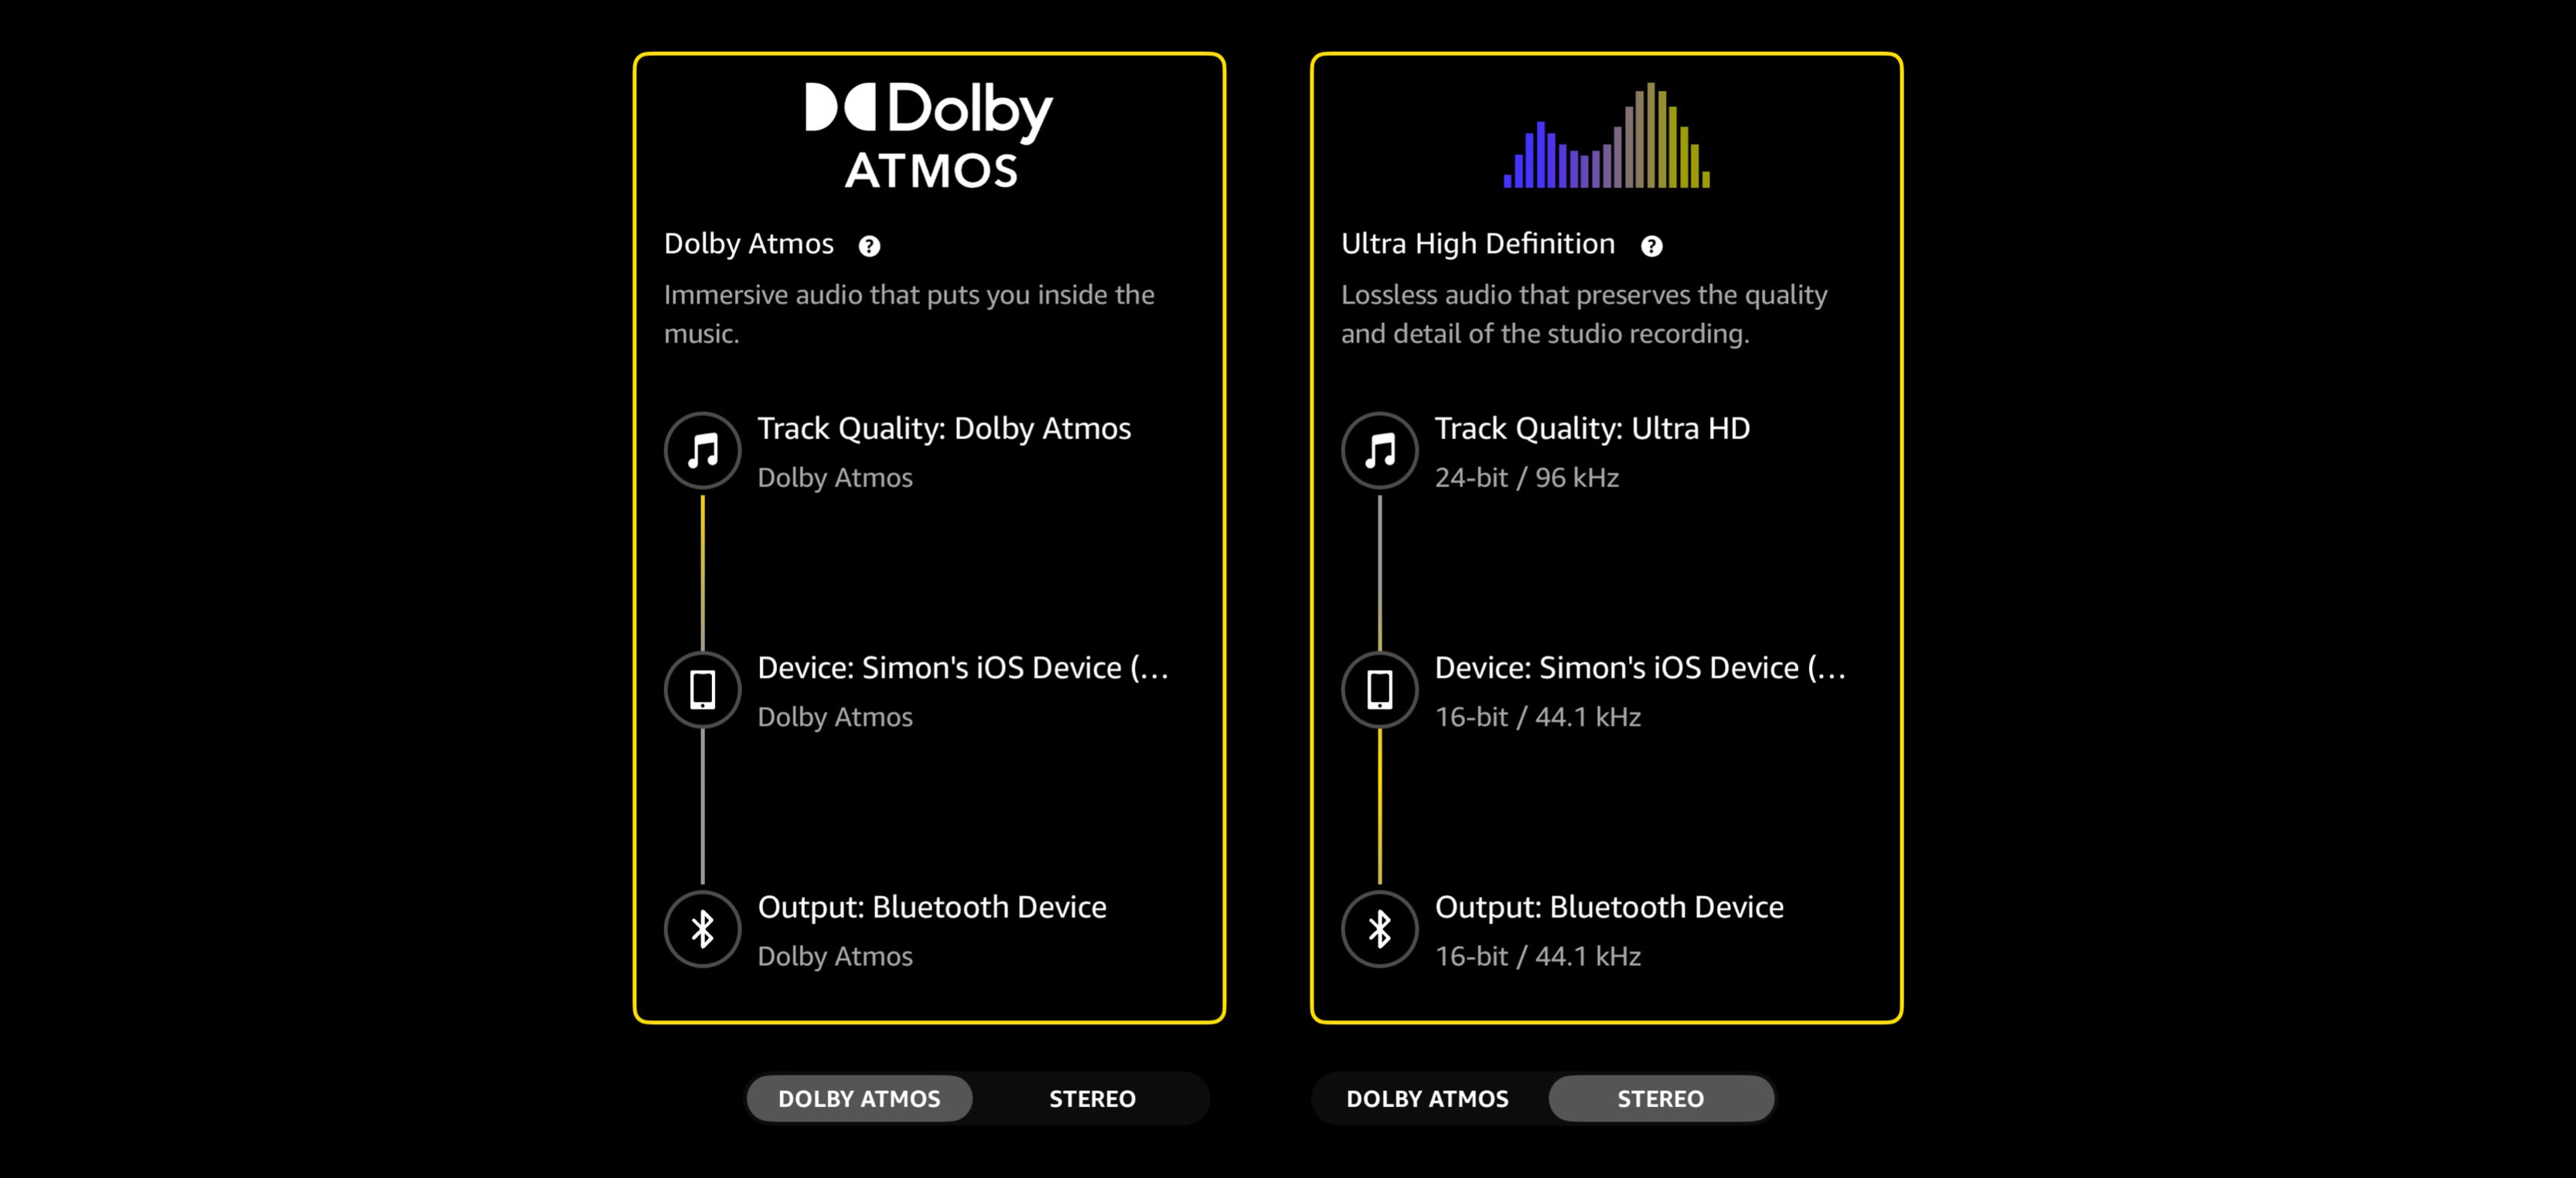
In a perfect world, Apple Music would use the same superb interface shortcut as Amazon Music. When playing a song in Amazon Music, you can tap on the quality display and if the song is available in both Atmos and stereo, you can instantly flip between them.
In our decidedly less-than-perfect world, we need to get creative if we want Apple Music to give us more control over our spatial audio listening.
A shortcut to more control

Here’s the (sort of) fix: Use iOS’s Shortcuts app to reduce the process from a long, five-step sequence, to a much faster two-step system.
If you’re not familiar with Shortcuts, it’s like a mini app builder for the iPhone (or iPad). Old folks like me can think of it like a macro recorder. Shortcuts gives you a menu of objects, actions, and triggers, which can be combined to do a huge variety of tasks that would otherwise take much longer on your own.
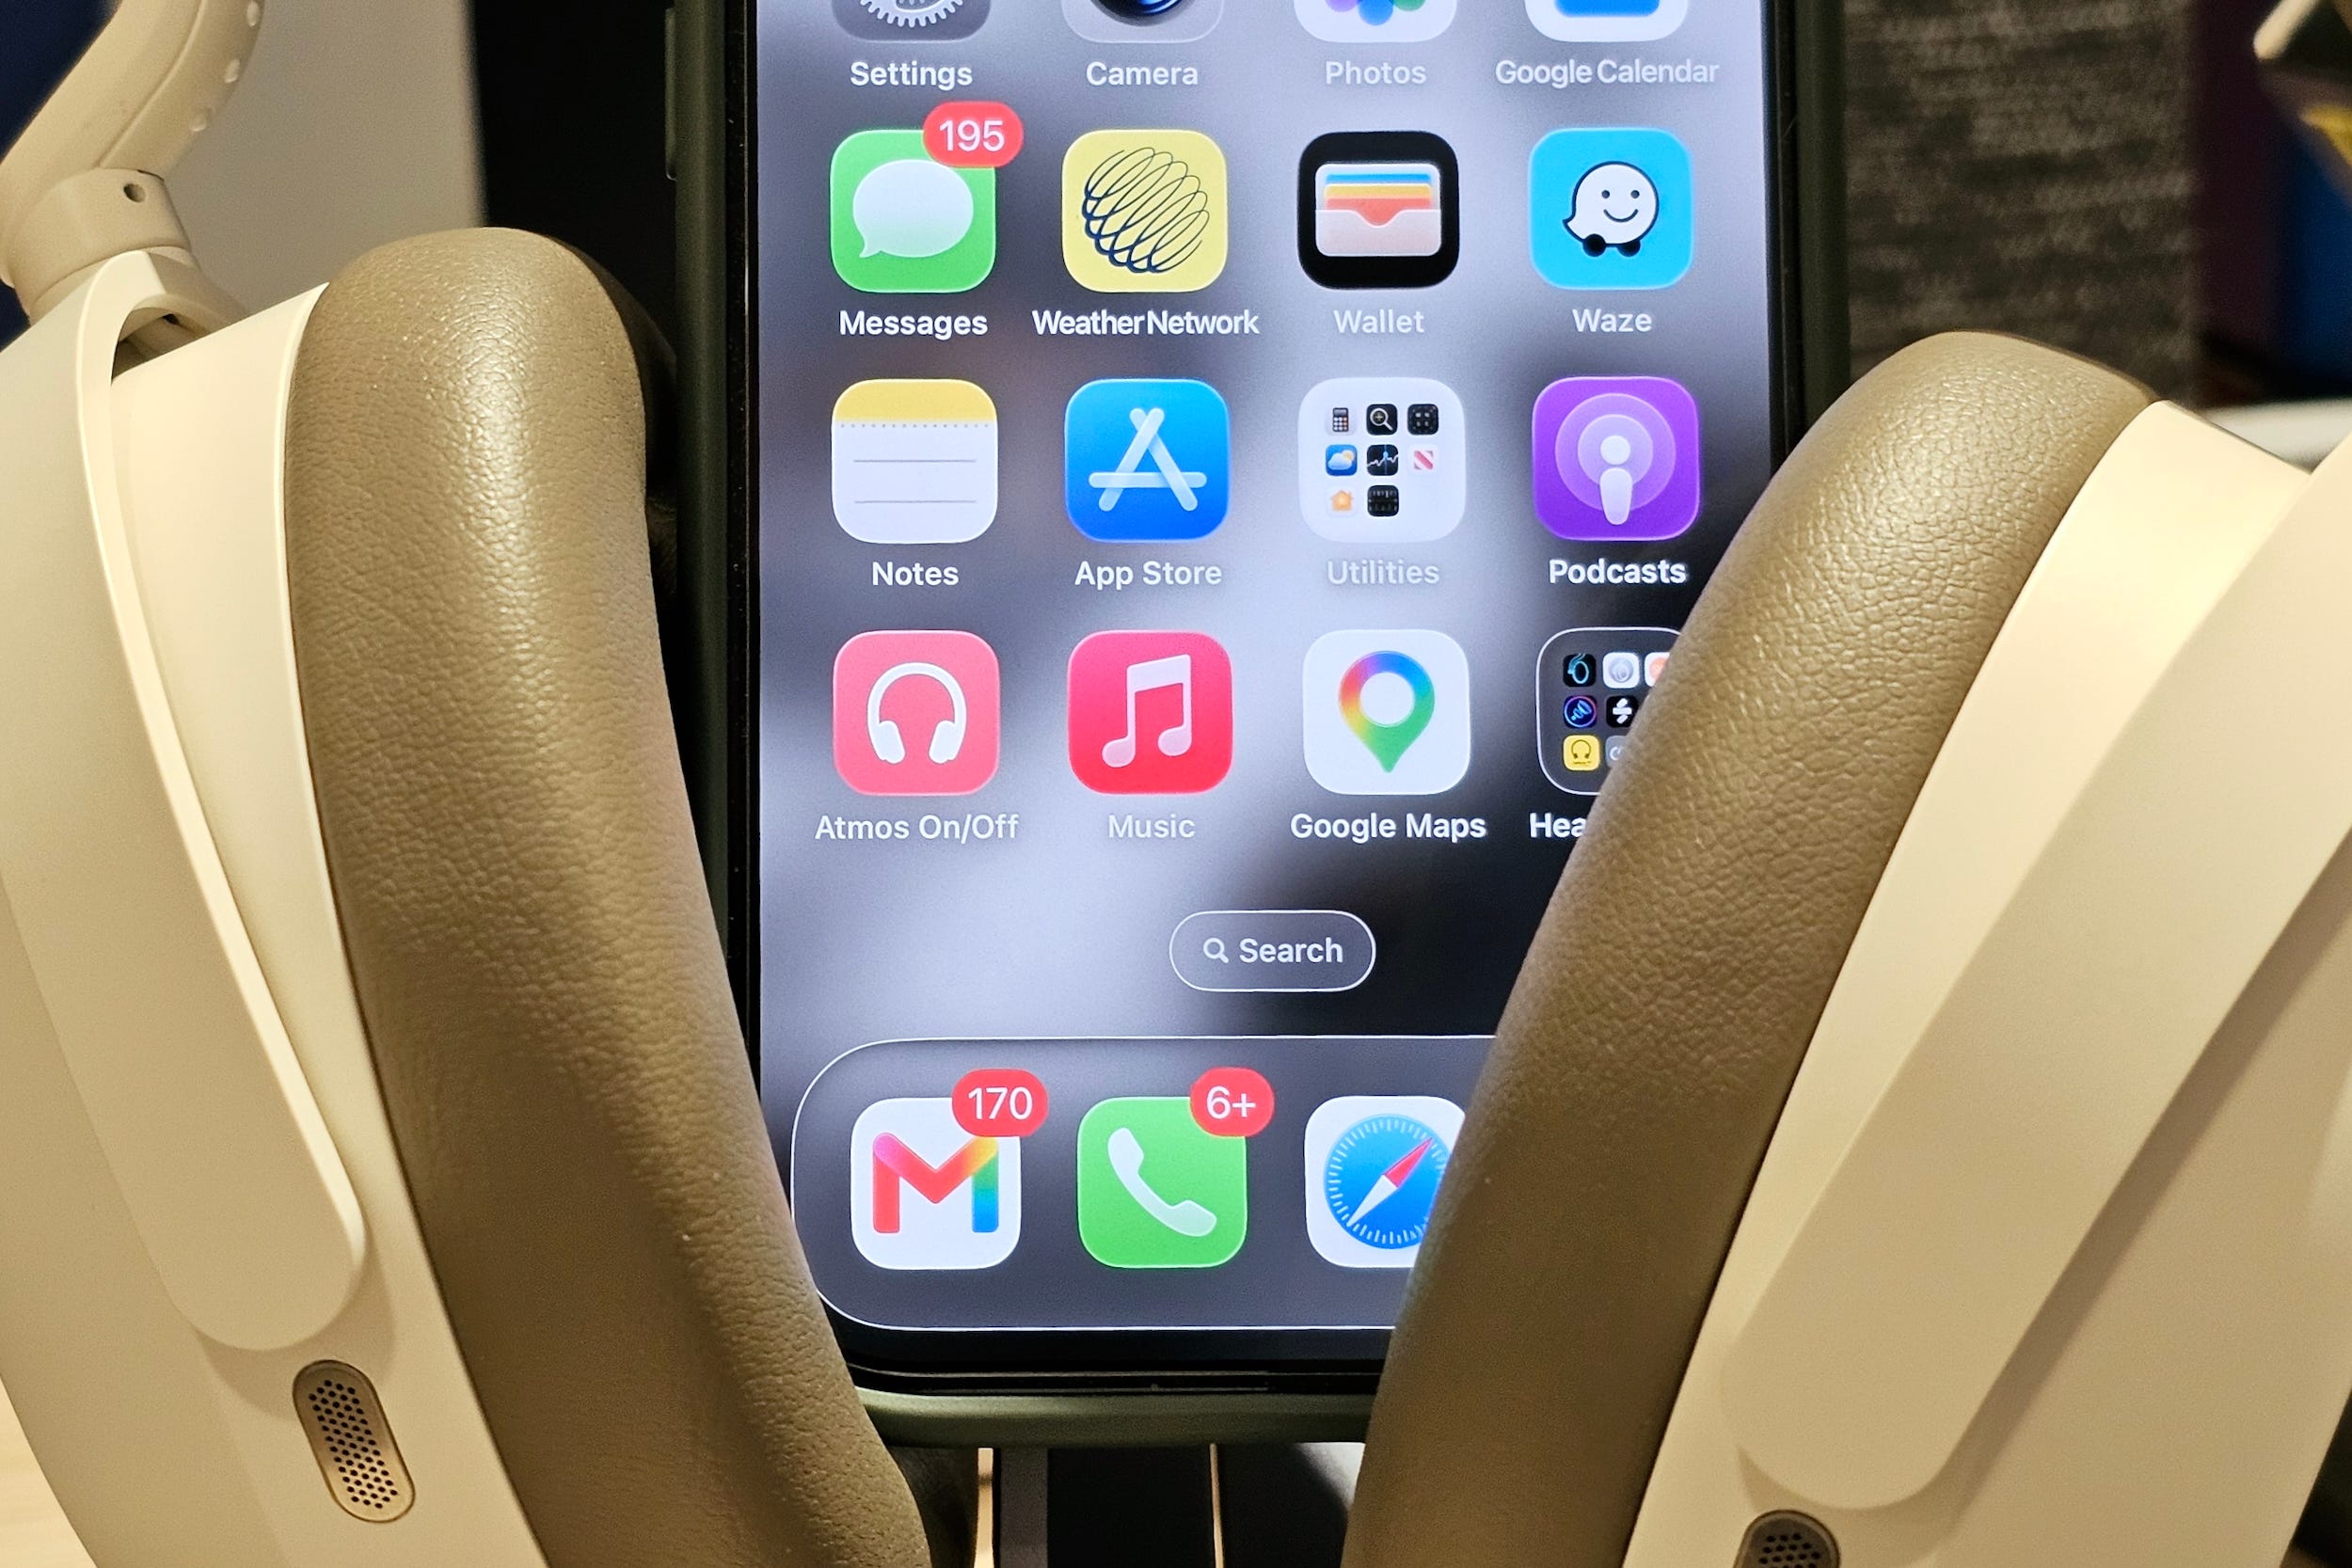
Sadly, Apple doesn’t let you create a shortcut that turns Atmos on/off in AppIe Music — that would be too handy. But I was able to use it to worm my way into iOS’s Settings app, all the way down to the screen that does let you turn it on and off.
That’s it. That’s the band-aid solution that we shouldn’t need: A shortcut that can be saved to your iPhone home screen as its own icon, and will open the Settings page we need to toggle Atmos.
I’ll include the instructions below, or you know, you could just install mine.
Want an even faster way to get there?
If you have an iPhone with an Action Button, go to your main iPhone Settings > Action Button, swipe left until you get to Shortcut, and choose your new shortcut. After that, a long-press of the Action Button will instantly pull up your Atmos audio toggles.
Apple Music Dolby Atmos Toggle Shortcut recipe
Create a new Shortcut
Open the Shortcuts app on your iPhone
Tap the + (plus sign) in the top-right corner
Tap the name New Shortcut, and use the Rename option to give it a new name like “Atmos On/Off”.
Add the URL Action
In the Search Actions field, search for the word URL, and select the URL action (not URL Encode or Expand URL).
Paste the Hidden Path
In the URL text field, delete anything that’s there and paste this exact string:
prefs:root=MUSIC&path=com.apple.Music:AtmosMake sure you copy it exactly —— capitalization matters!
Add the Open URL Action
Search the action library again, this time for Open URLs. Add it right beneath your first step. It should automatically link to the path you just created, reading: “Open URL”.
To test your new Shortcut, tap the Play arrow at the bottom of the screen. It should take you directly to the Dolby Atmos toggle settings page.
Now your Shortcut has been created, you can give it a custom icon and add it to your home screen. Just tap the Shortcut name at the top of that screen and look for the relevant options.
If you enjoyed this Loudmouth article, please consider subscribing. It supports my work and ensures you won’t miss out on future coverage.